
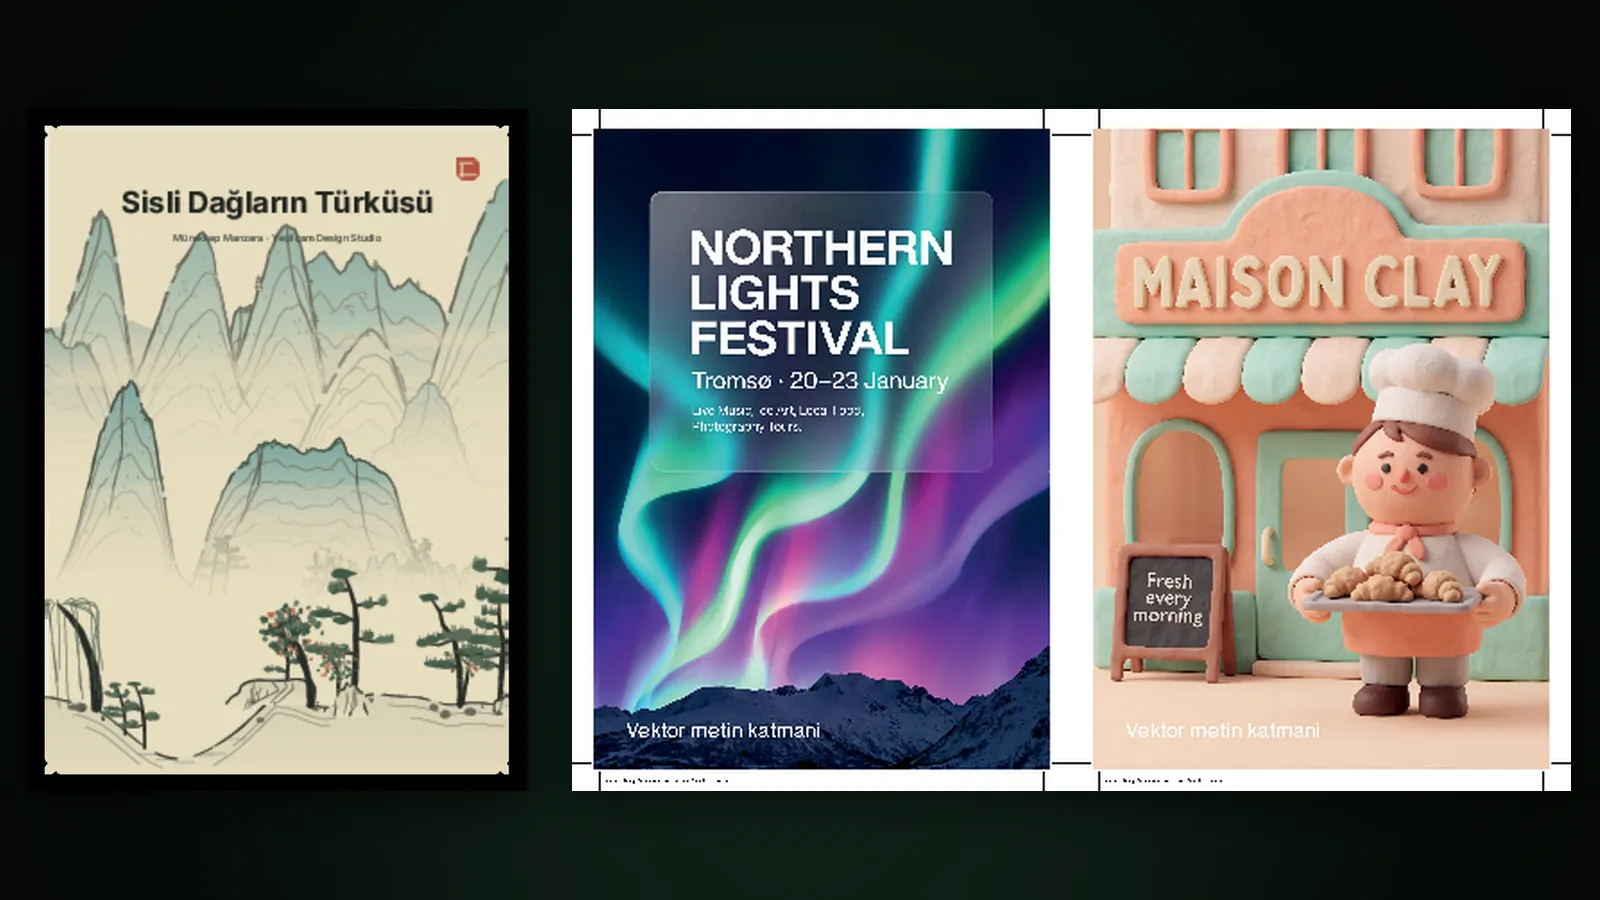
PDF/X is a subset of PDF defined in the ISO 15930 family of standards to make the exchange of print files reliable. In a print-ready PDF/X file every font is embedded, an output intent states which printing condition the colours were prepared for, the trim size is defined, and anything that could break the print run (encryption, scripts, audio, video) is absent. In short, PDF/X is the contract that closes the gap between "it looks right on screen" and "it prints right on press".
This article explains what PDF/X is, how PDF/X-1a differs from PDF/X-4, what a print-ready file is made of and how to prepare one step by step. At the end you will find how to do the same job in Design Studio at Yeşilçam Studios, followed by frequently asked questions.
What is PDF/X and why does it need its own standard?
An ordinary PDF can carry almost anything: RGB photos, fonts that are not embedded, form fields, embedded video, password protection. That flexibility is fine for a document read on screen; for print it is a risk. A font missing on the print shop's computer gets substituted, an RGB image without colour information gets converted to CMYK by guesswork, and a page with no defined trim size gets cut in the wrong place.
PDF/X removes these risks with a list of rules. If a file conforms, the print shop's preflight software can read it and confirm that it was prepared for a given printing condition and that nothing is missing. That is the value of the standard: the designer, the agency and the printer work to the same rules.
What are the differences between PDF/X-1a, PDF/X-3 and PDF/X-4?
These are the three members of the family you will meet most often. All of them require embedded fonts and an output intent; they differ in their rules on colour and transparency.
| Feature | PDF/X-1a | PDF/X-3 | PDF/X-4 |
|---|---|---|---|
| ISO number | 15930-1 and 15930-4 | 15930-3 and 15930-6 | 15930-7 |
| Allowed colour | CMYK and spot colours only | CMYK, spot and colour-managed (ICC-based) colour | CMYK, spot and colour-managed (ICC-based) colour |
| Live transparency | No, must be flattened | No, must be flattened | Yes |
| Layers (optional content) | No | No | Yes |
| When to choose it | Older workflows, or when the printer asks for it | Rarely requested today | Recommended for most current print workflows |
The practical difference shows up in transparency. A design with a drop shadow, a soft fade or a semi-transparent band is flattened on its way to PDF/X-1a: transparent areas and the objects they overlap are merged into a single image. In the process, crisp text can turn into a picture with limited resolution. PDF/X-4 keeps transparency live and leaves flattening to the press's raster image processor (RIP); text and vectors stay vector.
What are the components of a print-ready PDF?
Whatever the standard is called, a file a print shop can print without trouble contains the following:
- Output intent and ICC profile. States which printing condition the file was prepared for. In Europe and Turkey the most common definition for coated paper is FOGRA39 (the ISO Coated v2 profile); the newer FOGRA51 (PSO Coated v3) was characterised for the current print standard and for papers containing optical brighteners. The colour conversion itself is covered in the CMYK and RGB article.
- Embedded fonts. Every font must be inside the file, with the characters it uses. PDF/X makes this mandatory.
- Bleed. Colours and images that reach the edge are extended beyond the trim line. The common value in Europe and Turkey is 3 mm. Paper shifts by a few tenths of a millimetre during cutting; without bleed, a thin white line is left at the edge.
- Crop marks. Thin lines at the corners of the page, outside the bleed area. They show the cutter where the blade comes down.
- Boxes. Inside the PDF the trim size (TrimBox) and the bleed area (BleedBox) are defined. Preflight software reads the dimensions from here.
- Sufficient resolution. For work viewed up close (business cards, brochures, A4 posters), images are expected to be about 300 ppi at final print size. For large formats seen from a distance (posters, roll-ups, banners), 150, 100 or even 72 ppi can be enough.
- Total ink limit. The sum of the four colours at any point must not exceed what the paper can hold. Coated paper profiles typically keep this limit between 300 and 330 percent; on uncoated paper the limit is lower. Your printer will tell you the exact value.
How do you prepare a PDF/X file step by step?
- Start with the right canvas: the final trim size (e.g. A4 = 210 × 297 mm), 3 mm of bleed on every side and a safe area at least a few millimetres inside the trim line.
- Extend backgrounds and images that touch the edge all the way to the end of the bleed. Keep text, logos and important details inside the safe area.
- Check the resolution of your images at final size. If it is too low, use a larger source or reduce the print size; upscaling an image in software does not bring back missing detail.
- Ask your printer about the paper and the profile they expect. If you do not know, FOGRA39 is a safe starting point for coated paper.
- Convert the colours to that profile and check the result on screen with a soft proof. Saturated blues, greens and oranges are the colours that change most.
- Choose PDF/X-4, or PDF/X-1a if your printer specifically asks for it. Turn on bleed and crop marks.
- Have the file checked with a preflight tool or by the printer's own check, and send it to print after approval.
What are the most common mistakes?
- No bleed. If a design with colour to the edge is sent without bleed, white slivers appear at the edges after cutting.
- Text too close to the edge. Text a millimetre or two from the trim line gets clipped or looks cramped after a small shift in cutting.
- A low-resolution image taken from the screen. An image with a 1080-pixel long edge that looks sharp on screen drops to about 92 ppi when spread across the long edge of an A4 sheet, and prints blurry.
- A logo sent as a raster image. Logos and thin lines should be vector whenever possible; we explain the difference in the vector and raster article.
- Small text set in four-colour black. If thin body text depends on four colours landing on top of each other, the slightest misregistration leaves coloured fringes at the letter edges. Small black text should sit on the black (K) channel only.
- The wrong profile. A file prepared with a coated paper profile and printed on uncoated paper takes on too much ink in the dark areas, and colours come out darker than expected.
How do you get a print-ready PDF/X at Yeşilçam Studios?
Design Studio sets up print canvases according to these rules. In the print presets, from A6 to A0 and from business card to roll-up, the canvas opens in millimetres, 3 mm of bleed is added automatically and each size gets a suitable resolution: 300 dpi for business cards, brochures and A4, 200 dpi for A3, 150 dpi for A2 to A0, 100 dpi for large posters and roll-ups, and 72 dpi for banners. In the editor's "Bleed and safe area" guide, the pink line marks the trim and the green dashed line marks the safe area 5 mm inside it.
- Open your design and press "Export". On Basic and Pro subscriptions, PDF is preselected as the format for print canvases.
- The "CMYK (print shop)" box is ticked for print canvases. Choose ISO Coated v2 (FOGRA39) or PSO Coated v3 (FOGRA51) as the colour profile.
- Choose PDF/X-4 (the default), PDF/X-1a or a CMYK PDF with no standard as the PDF standard.
- Leave "3 mm bleed" and "Crop marks" switched on.
- If you like, use "Print preview" to see how the design will look in print and which areas lose colour, then download.
When you choose PDF/X-1a, transparency is flattened, so text may also turn into a 300 ppi image; for crisp vector text, prefer PDF/X-4. If a text layer has weak legibility, the export dialog warns you. PDF, SVG, EPS and CMYK output are available on Basic and Pro subscriptions; a CMYK or vector export has a list price of 1,021 tokens (Basic, about $0.01; 817 tokens on Pro with ×0.8). These figures apply as of October 2026, and current prices are always on the pricing page. For a screen-by-screen walkthrough of every option, see the print export guide.
Frequently asked
Should I choose PDF/X-4 or PDF/X-1a? Choose PDF/X-4 unless your printer specifically asks for PDF/X-1a. It keeps transparency and vector text, and most current print workflows process it directly.
Why is the bleed 3 mm? A stack of paper can shift by a few tenths of a millimetre during cutting. 3 mm comfortably covers that shift and is the widely accepted value in Turkey and Europe; in the US, 1/8 inch (about 3.2 mm) is used.
What is the difference between FOGRA39 and FOGRA51? Both describe offset printing on coated paper. FOGRA39 is older but still the most common reference; FOGRA51 was characterised for the current print standard and for papers with optical brighteners. Use whichever your printer works with.
Can I send an RGB PDF to the printer? Some printers accept it and convert it themselves, but then you never see how the colours change. Converting yourself and checking with a print preview avoids surprises.
Can I export PDF/X on the free plan? No. On the free plan you can download PNG, JPG and WEBP; downloads with a long edge above 720 pixels carry a watermark. PDF, CMYK, SVG and EPS are available on Basic and Pro subscriptions.