
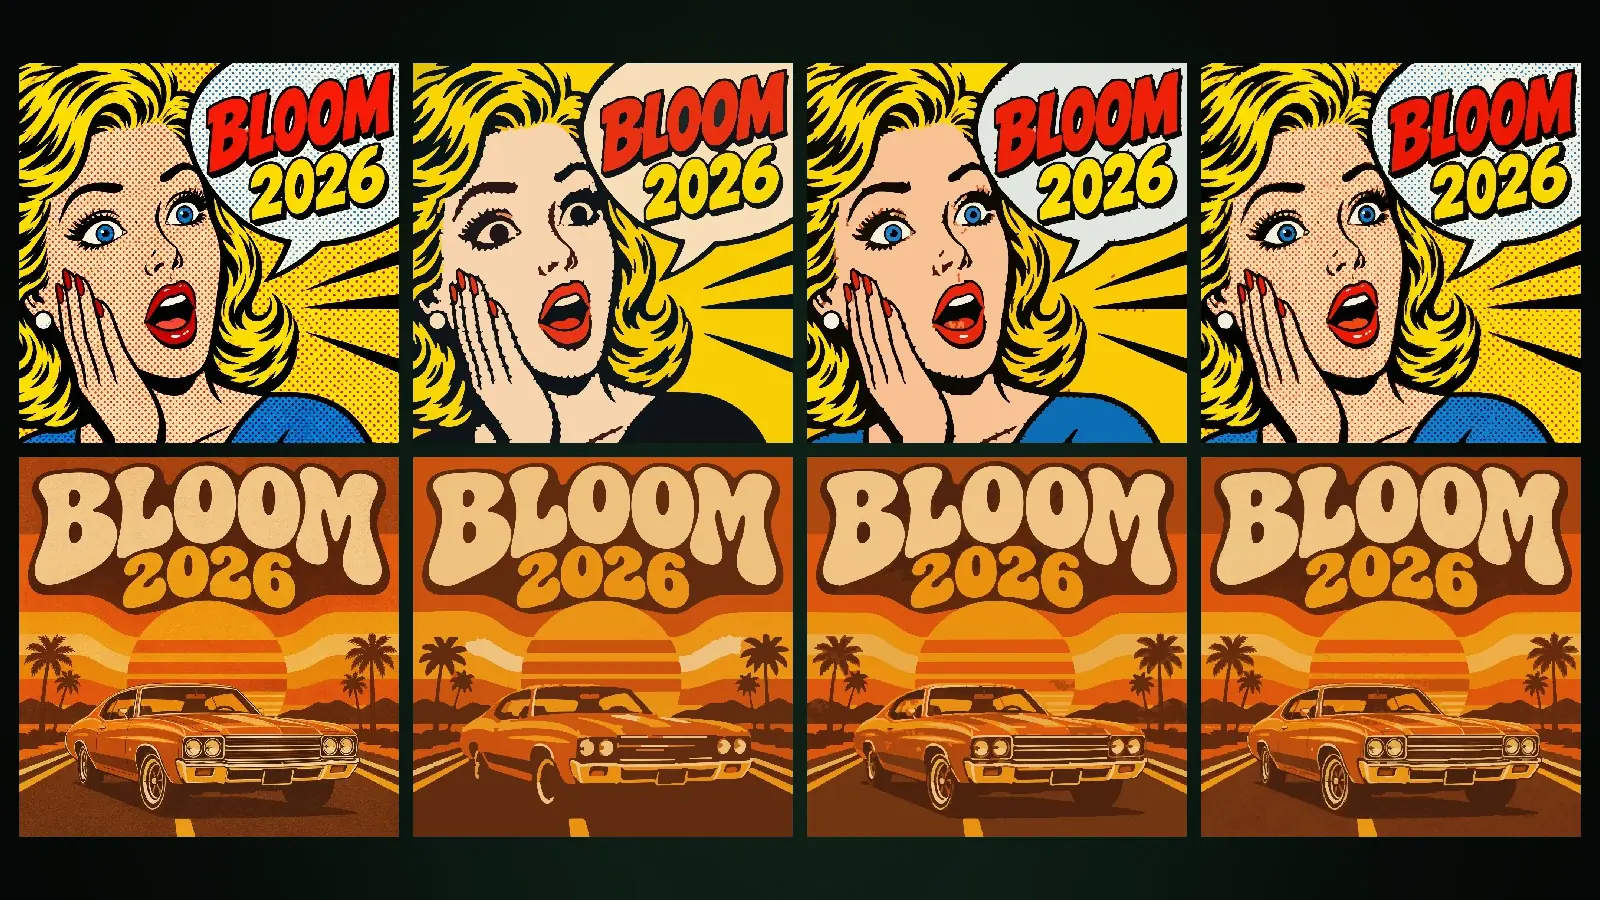
To get a vector file from Design Studio, choose SVG or EPS in the Export window, set Vector detail to Low, Medium or High, check the result with Vector preview and download. For large prints, Add detail in the editor redraws the image layer tile by tile at print size to add texture to the raster image. Both are available from the Basic plan.
This guide explains how vector export works, which styles suit vector, when Add detail helps and what it costs, as of October 2026.
When do you need SVG and EPS?
A vector file is made of paths instead of pixels, so it can be scaled to any size without losing quality. SVG is the common format for the web and design software, EPS for print shops, signage and cutting machines; in the app EPS is described as Vector (print shop). Logo-like work, stickers, vinyl cutting, signage, or designs you will keep editing in a graphics program are good fits for vector. For the difference between vector and raster in detail, see vector vs raster.
Photorealistic images break into thousands of small shapes when converted to vector; the file grows and the photographic look fades. For that kind of work, PDF/X for print and PNG or JPG for screens are the better choice. Vector shows its value in flat-colour, crisp-edged designs.
Vector detail and vector preview
When you choose SVG or EPS in the Export window, a Vector detail option appears: Low, Medium and High. Low gives simpler shapes and a small file; High gives more detail and a larger file. Medium is the default. The Vector preview button shows an image of the file you will get at the chosen detail, and the number of paths in the file and its approximate size in kilobytes. If you change the detail level while the preview is open, the preview refreshes at the new level.
Which styles suit vector?
Flat-colour, crisp-edged styles give the cleanest vector results: Vector Art, Pop Art, Swiss Design and Minimalism are examples. In styles with soft gradients, glass effects and brush texture, gradients become stepped and you get a poster effect. That is why Glassmorphism, Aurora, Y2K, Editorial and Ink Wash Painting show a “Vector is not recommended for this style” warning in the window; you can still download. For a general overview of the styles, see the Design Studio page.
The Ink landscape layer is an exception: it is not traced from an image but drawn as true vector from the start, and it goes into SVG, EPS and PDF/X files as real paths. Its settings are covered in the editor guide.
What is Add detail?
Add detail redraws the design’s image layer at print size, tile by tile, adding texture and sharpness. It is meant for large formats such as A2, A1 and A0 posters, roll-ups and banners, to remove the softness that comes from scaling a 4K image. On small canvases a single tile may be enough; on large canvases the number of tiles grows.
Add detail is not meant to change the composition but to improve the texture and sharpness you see up close. If a roll-up or banner will also be seen from near, the difference is clear; for work only seen from a distance, Print 4K is often enough.
The button appears only on an image layer in 4K quality. If your image layer is Draft, use Upgrade to 4K first. When you select the image layer, the panel shows the note “Add detail: the image layer is redrawn tile by tile at print size” along with the number of tiles and the total in tokens.
Step by step: Add detail
- Open the design in the editor and select the image layer (background).
- If the layer is Draft, press Upgrade to 4K and wait for it to finish.
- Check the number of tiles and the total cost in the panel.
- Press Add detail with Sam. The stages show as Adding detail and Joining the tiles.
- When it is done, zoom in to check the result, then export.
If the job cannot be completed, your design stays as it was and the tokens are refunded.
Costs
| Action | List price (Basic) |
|---|---|
| Print export (PDF/X, SVG, EPS) | 1,021 tokens (about $0.01) |
| Add detail, per tile | 29,576 tokens (about $0.18) |
| Add detail, per 4K tile | 44,042 tokens (about $0.26) |
| Design artwork, Print 4K | 44,042 tokens (about $0.26) |
These are Basic list prices; the Pro plan applies ×0.8. The actual total for Add detail depends on the canvas and is shown in the panel before you press the button. Current prices are on the pricing page.
Plan rules
SVG, EPS and Add detail are available on Basic and Pro subscriptions; on the Free plan these options show a BASIC badge and the download button in the export window turns into Upgrade your subscription. On the Free plan you can download your design as PNG, JPG and WEBP. For PDF, CMYK and colour profiles, see the print preparation guide.
Frequently asked
Does SVG work well with every style? No. Flat-colour styles give clean results; in Glassmorphism, Aurora, Y2K, Editorial and Ink Wash Painting gradients become stepped, and the app says so with a warning.
Does the vector preview cost anything? No separate cost is shown for the preview; the export cost applies when you download.
Are Add detail and Upgrade to 4K the same thing? No. Upgrade to 4K raises a draft image to 4K; Add detail redraws a 4K image tile by tile at print size to add sharpness in large formats.
Do I need Add detail for a small business card? Usually not. Print 4K is fit for direct printing up to A3; Add detail makes the biggest difference in large formats.
What happens if Add detail fails? Your design stays as it was and the tokens spent are refunded.