
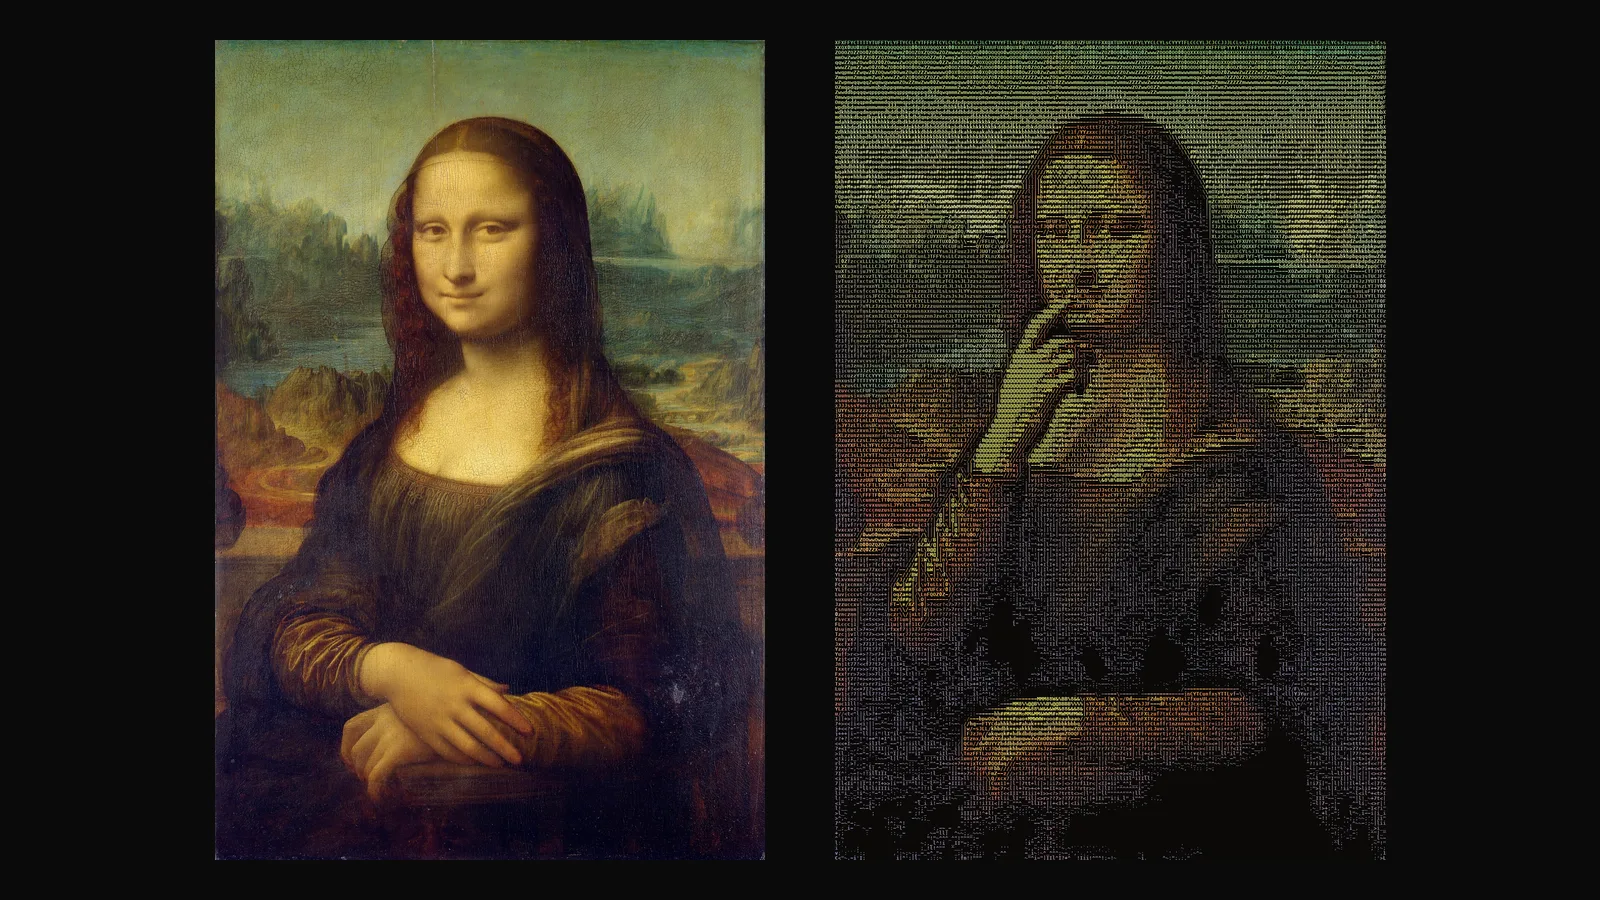
Glyphmation is a style in Animation Studio. It brings your image to life with a short motion and then turns that motion into a colored ASCII film: a picture drawn with letters, numbers and symbols that moves without flickering. You get an MP4 every time, and you can add a GIF and an HTML version whose characters are real, selectable text. This guide walks through every step, the settings, and how the price is calculated.
Glyphmation needs a Basic or Pro plan, like the other Animation styles. Open it from Animation → Glyphmation.
1. Pick an image
Choose an image from your library or upload a new one (JPG, PNG or WebP, up to 20 MB). Portraits, characters, products and illustrations with a clear subject work best, because the subject has to stay readable once it is made of characters.
2. Check the free live preview
As soon as you pick an image, an ASCII preview appears next to it. It is made in your browser, it is free and it shows the first frame. Every setting you change (columns, color, canvas, character set, clearing flat areas) updates the preview right away, so you can settle on the look before anything is charged.
3. Describe the motion
In the Motion field, write what should move, in your own language. For example: "She raises her right hand, scratches the tip of her nose, then returns to the start." The camera always stays still, so describe only the motion in the scene: a gesture, a turn of the head, hair or cloth moving. Clear, simple gestures read best as characters; very small movements can disappear in the grid.
Improve with Sam. The Improve with Sam button rewrites your sentence as a clear motion prompt: camera locked, only what moves, and a return to the starting pose when the loop is on. Sam looks at your image and writes the prompt in English, which gives the best video results. If you leave the field empty, Sam proposes a natural motion for the image. Sam is charged by actual usage, a small amount, and refunded if it cannot answer.
You can also add an optional negative prompt: things you do not want in the video, such as text or extra hands.
4. Return to start
The Return to start switch is on by default. The last frame returns to the first, so the film loops seamlessly, which suits profile videos, website headers and social posts that play on repeat. Turn it off if the motion should end somewhere else.
5. Choose the settings
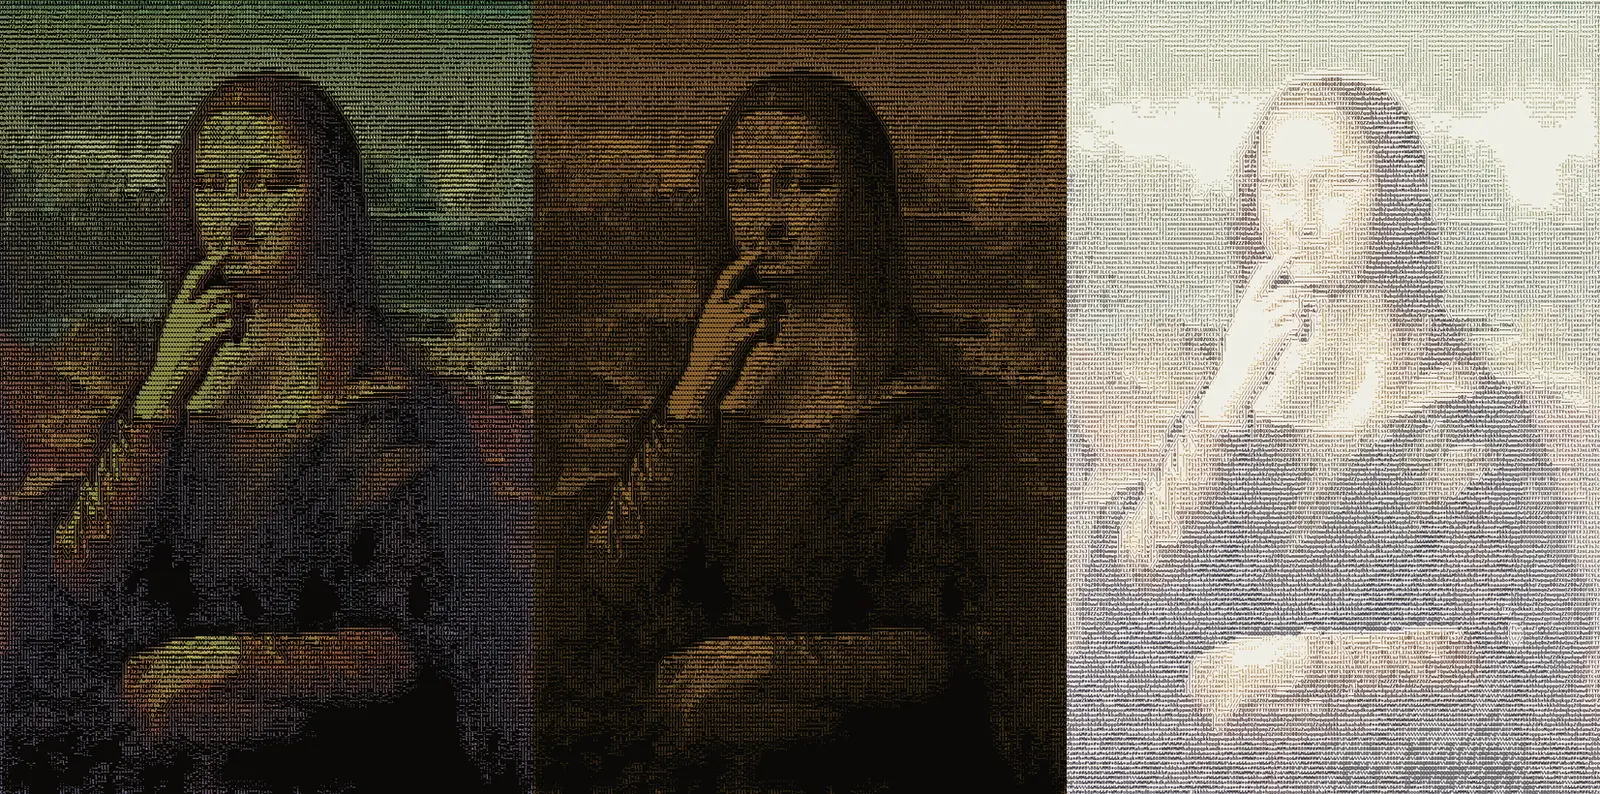
- Columns: 80, 120, 180 or 240. More columns, more detail. 180 is the default and keeps faces readable; at 120 a face is often too coarse. 240 is available with the Pro plan.
- Color: Source (the colors of your image), Green, Amber, White or Cyan. The single colors give a terminal look.
- Canvas: Auto, Dark or Light. Auto picks a light canvas for bright images and a dark one for the rest.
- Clear flat areas: on by default. Flat, plain areas stay empty, so the image reads cleaner instead of being filled with characters everywhere.
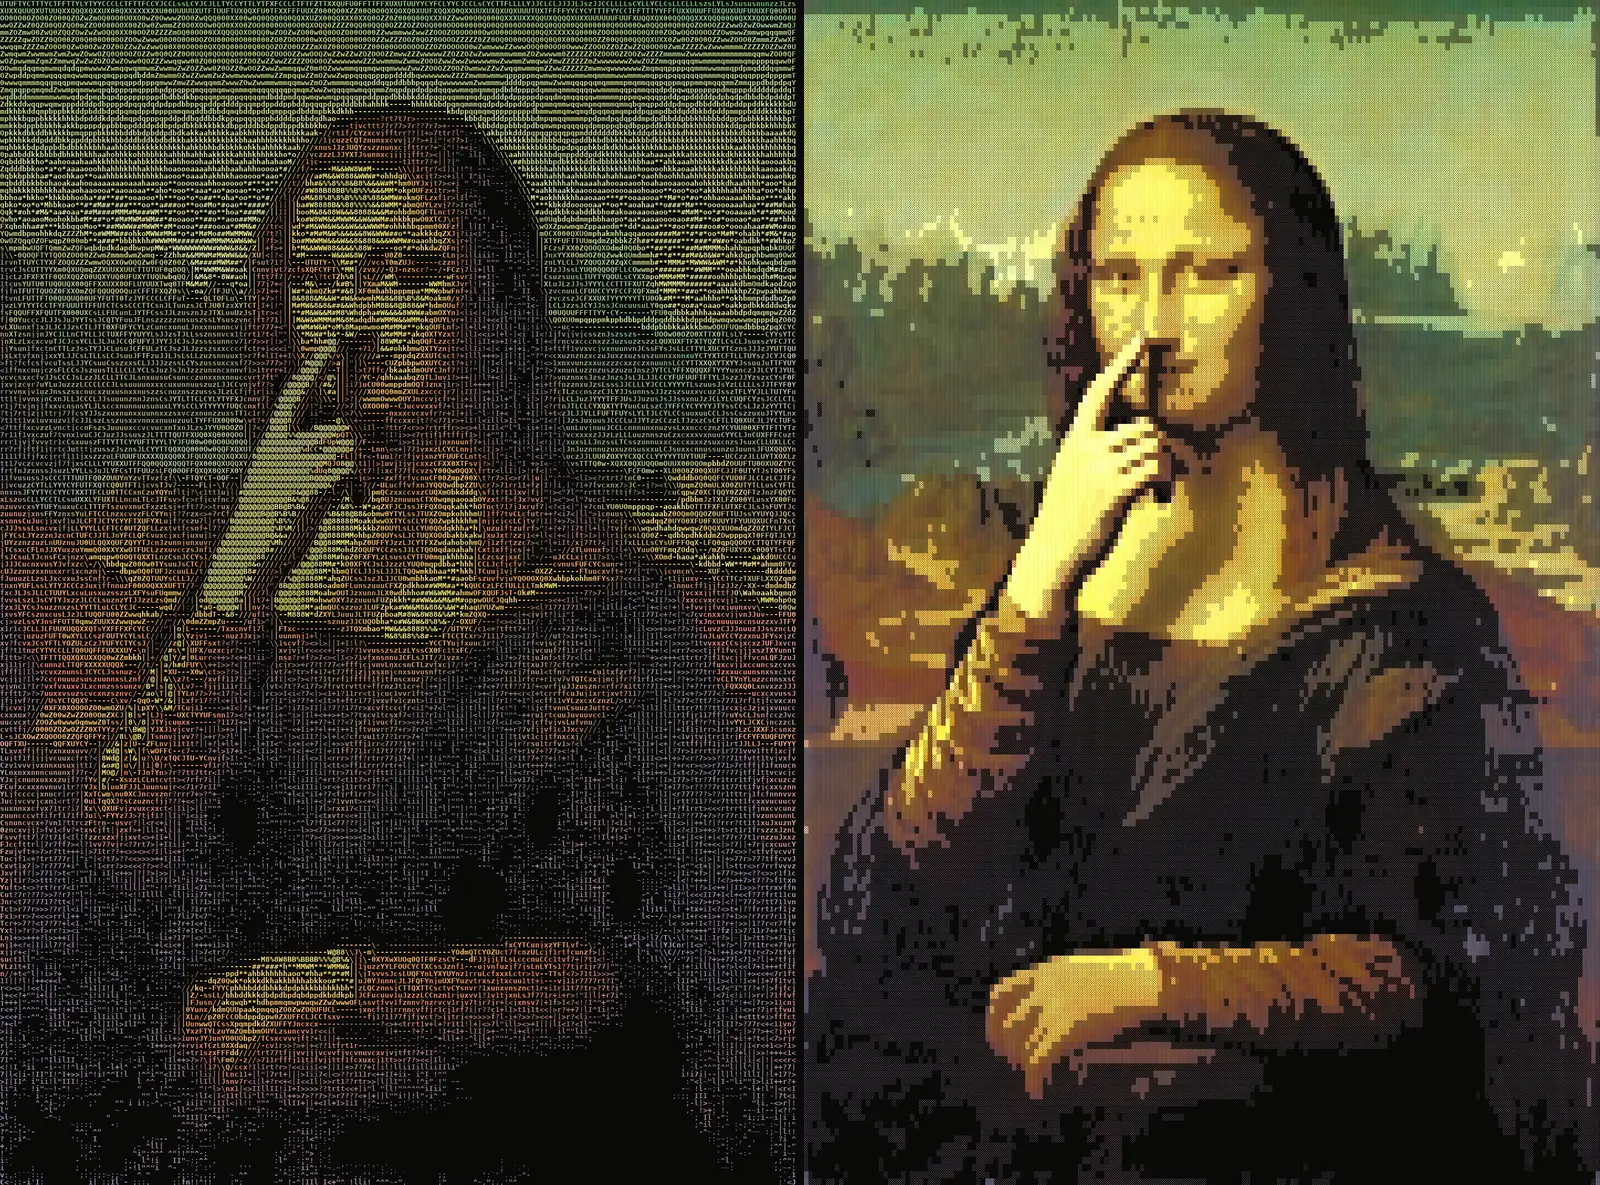
- Character set: Standard, Blocks or Letters only. Standard mixes letters, digits and symbols. Blocks gives a dense, pixel-like look and was the most readable set in our tests. Letters only weaves a soft texture from letters, but on dark images it can show a face less clearly. The preview shows the set you pick right away, and Render again can change it later.
- Formats: MP4 is always included. HTML plays in the browser as real, selectable text; GIF is a moving image that plays almost anywhere. Choosing GIF and HTML together needs the Pro plan.
6. Check the price and create
The cost box shows two lines: the 5 second video and the ASCII render. When you press Create, a confirmation shows the total before anything is deducted. Then the job runs in two stages: the video is made (this can take a few minutes), then the ASCII film is rendered. You can leave the page; the work appears under My works.
7. Watch, download and share
When it is ready, the MP4 plays in the player. Next to it you find Open HTML and Download GIF if you chose those formats. The source video is saved in your library as a separate video, so you can come back to it later.
Change the settings without making a new video
Under Change settings you can pick other columns, another color, another canvas or other formats and press Render again. The video is not made again: only the ASCII render runs, and only the render is charged. This is the cheap way to try an amber version, a light-canvas version or a 240 column version of the same motion.
Turn any library video into ASCII
In Film Studio's library, every video has a Turn into ASCII button, on the card and in the video details. It opens Glyphmation with that video: no new video is made, you choose the settings and pay only the render. If the video is longer than 5 seconds, the price grows with the length, second by second, and at most 10 seconds are rendered. If the video is longer than 10 seconds, a Segment picker appears: you choose the start and the length (up to 10 s), and the preview shows the start frame.
How is the price calculated?
- New film from an image = video (5 s) + ASCII render, charged up front. At the time of writing that is 16 + 1 = 17 credits on Basic and 13 + 1 = 14 credits on Pro.
- Render again = the ASCII render only (1 credit on both Basic and Pro, for 5 seconds).
- From the library = the ASCII render only, in proportion to the length above 5 seconds, up to 10 seconds (for example 1 credit on Basic for a 10 second video).
- Refunds: if the video cannot be made, everything is refunded to your balance. If only the ASCII render fails, the render cost is refunded and the source video stays in your library, so you can render it again.
Prices follow the pricing table and your plan; the app always shows the exact amount before you start. You can see all per-operation prices on the pricing page.
From the terminal or an AI assistant
Glyphmation is also in the Yeşilçam CLI and MCP server (version 0.4.0): yesilcam glyph create, glyph render, glyph get, glyph list, glyph quote and glyph improve. Like everything that spends credits there, it shows the price first and only starts after your approval.
yesilcam glyph create "she raises her hand, then returns to the start" --image-path portrait.jpg --formats html --yes --out portrait.mp4
yesilcam glyph render <job_id> --cols 120 --color amber --charset blocks --yes --wait
yesilcam glyph render --video-asset-id <id> --start 12 --dur 8 --yes --wait
Tips for a clean result
- Start from an image with one clear subject and good contrast between subject and background.
- Ask for one or two readable gestures rather than many small ones.
- Keep 180 columns for faces; try 120 or 80 for bold shapes, logos and posters.
- Use the free preview to choose color and canvas before you create; afterwards, Render again is cheap.
Frequently asked
Is the preview the same as the final film? It uses the same grid, characters and colors, but it shows one frame of your image. The final film adds the motion and the steps that keep the characters steady from frame to frame.
Why does the camera stay still? A moving camera changes almost every character in every frame, which turns an ASCII film into noise. With a still camera only the moving parts change, and the film stays calm and readable.
Can I use the HTML on my website? Yes. The HTML file plays in a browser as real text that can be selected and copied. Download it from the result and host it like any other file.
Which plan do I need? Basic or Pro. 240 columns, and GIF and HTML together, need Pro.